
In late 2008 I put together a post that helped get the early Android SDK up and running as a simple browser emulator beacause I believed getting easier access to modern mobile browsers for the web development and design community was becoming a necessity.
Browser testing is critical to any web developer, designer… really any web professional. You need to know how your users or customers are seeing your work through the multitude of browsers and devices available to them, new ones become available every day. - Ben Hedrington, 2008
Well it’s 2011 and to say a lot has changed in mobile would be putting it lightly, thankfully much of it played out in the way I had hoped back then. I’m seeing my work related Mobile projects growing like crazy and it’s no longer just an iPhone world, Android is everywhere and even more of a necessity for any website.
Time to re-hash setting up an Android emulator on your Windows PC (Mac and Linux, my personal desktops of choice, coming soon…) this time let’s emulate the current best of breed the Nexus S and throw in a Xoom (Honeycomb) tablet for good testing measure.
Let’s get started…
We’ll need to download and run two installers.
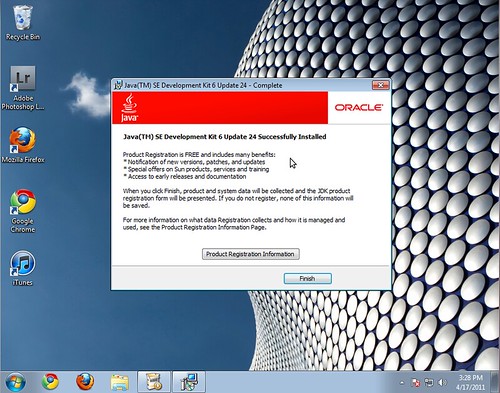
First lets grab and install the Java SE Development Kit (JDK) you’ll need to choose the right one for your machine Windows 7 32-bit or Windows 7 64-bit. If you don’t know your “bits” here is how to find out.
Once you have it, install it. All the defaults will be fine.
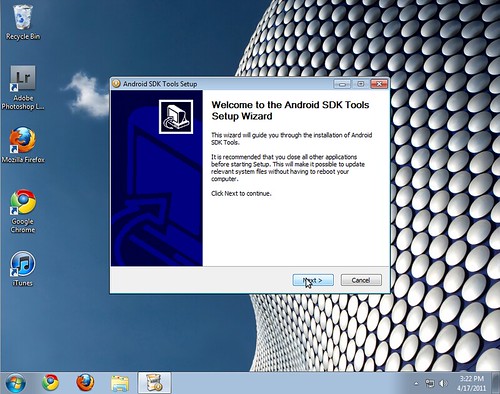
Next we will download the latest Android SDK grab the recommended Windows “installer” version for simplicity sake. Install it. Again the defaults will be fine.
Once the Android SDK installer finishes make sure the Start SDK Manager checkbox is checked and click Finish.

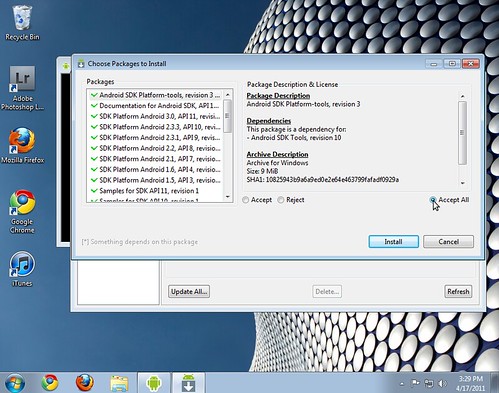
SDK Manager will launch if disk space is not an issue I suggest just downloading and accepting all packages so you will have every Android version at your disposal in the future. Click Install and wait a bit for your downloads to complete.
All our software is now installed, let’s create some Android emulators.
Creating a Nexus S Emulator…
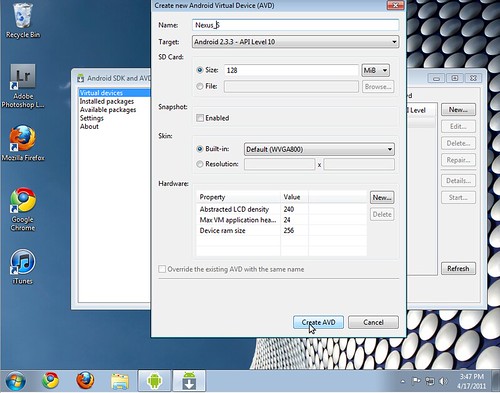
Click Virtual devices.
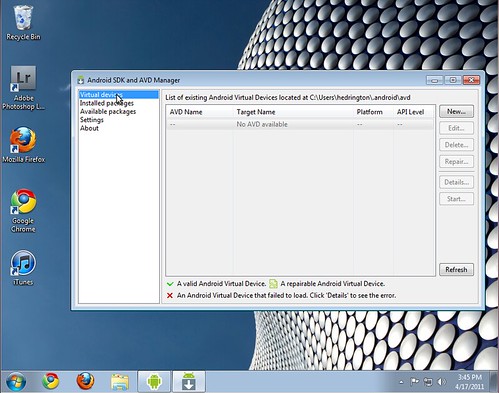
Enter a name no spaces, slashes or special characters allowed. Choose Android 2.3.3 in the Target field. Put 128 in the Size field. Create the Android Virtual Device click Create AVD.
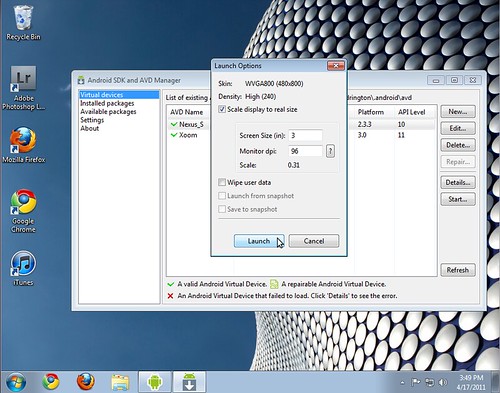
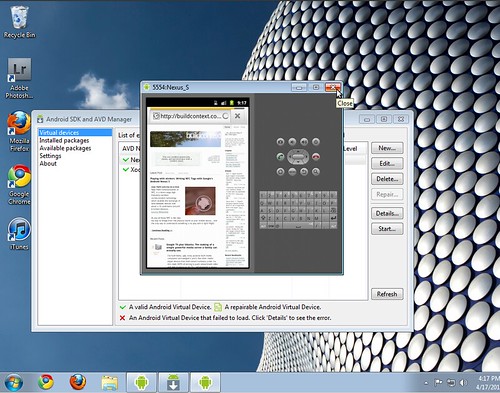
Double click your new Nexus S AVD. I usually check Scale display… and choose 3 or 4 (inches). Click Launch.
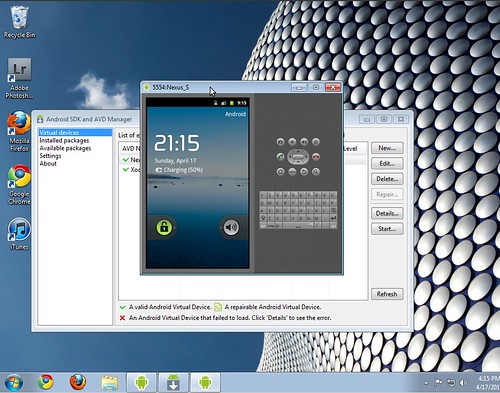
Success! Unlock your new “phone.”
Launch the Browser icon (the globe near the bottom of the screen).
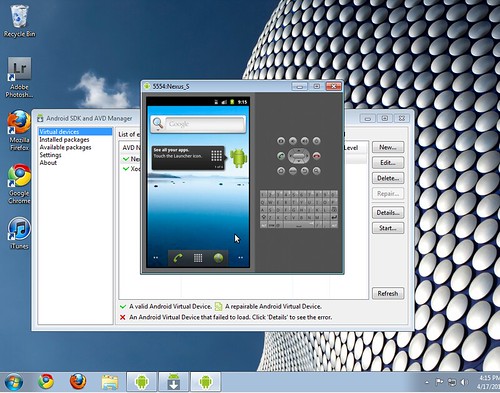
Type in the URL of the site you’d like to test… and you are in business.
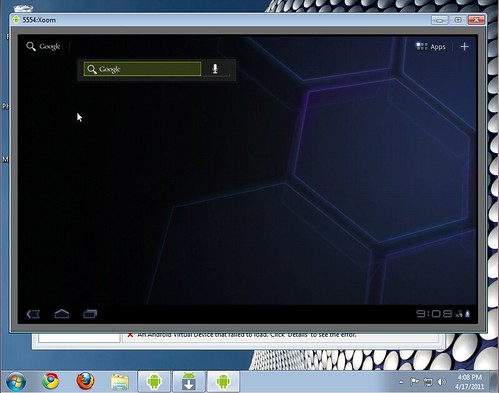
Extra Credit: Let’s make a Xoom (Honeycomb) Tablet Emulator
Create the Xoom AVD, the Target for a Honeycomb Tablet is “Android 3.0” the rest you can figure out.

Start it up, I launched it at 10 inches.
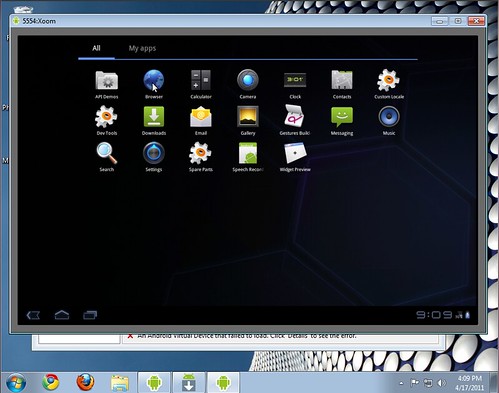
Click Apps near the top of your new tablet’s screen. Launch Browser.
Enter your URL and test your site in all its tablet goodness. :)
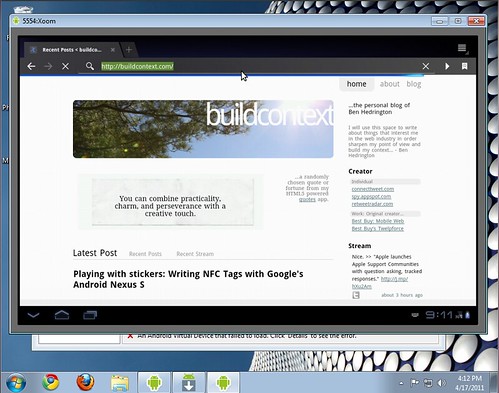
Hope this tutorial helps some of you get your sites ready for the mobile and tablet revolution. -Ben